Put one GPUParticles3D in your level and move it above the camera every frame. Keep local_coords off so drops already falling stay where they are, make visibility_aabb reach down past the camera, and set transform_align to Z-Billboard, Y to Velocity so the streaks lean with the wind.
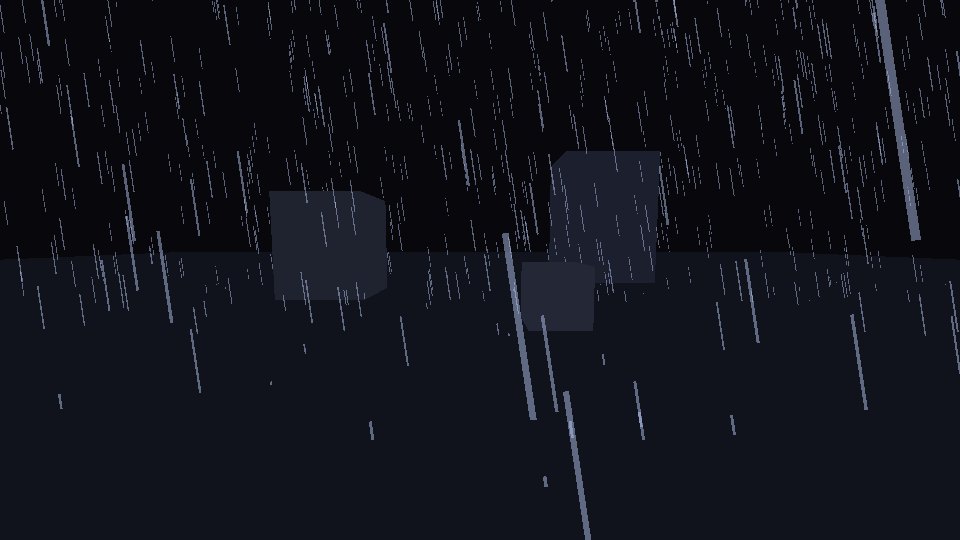
The code
Add this script to a GPUParticles3D node in your level. It finds the current camera by itself.
extends GPUParticles3D
## Rain that follows the active camera. Add it to your level, not under the camera.

@export var area := 30.0  # width of the rain box around the camera
@export var height := 12.0  # drops start this far above the camera
@export var fall_speed := 20.0
@export var wind := Vector3(3.0, 0.0, 0.0)

func _ready() -> void:
	amount = 4000
	lifetime = (height + 6.0) / fall_speed  # long enough to fall past the camera
	preprocess = lifetime  # already raining on the first frame
	local_coords = false  # the default: drops keep falling where they are when the emitter moves
	transform_align = GPUParticles3D.TRANSFORM_ALIGN_Z_BILLBOARD_Y_TO_VELOCITY  # face the camera, lean with the wind
	var depth := height + 8.0
	visibility_aabb = AABB(Vector3(-area, -depth, -area), Vector3(area * 2.0, depth + 2.0, area * 2.0))
	process_material = _make_process()
	draw_pass_1 = _make_drop()


func _process(_delta: float) -> void:
	var cam := get_viewport().get_camera_3d()
	if cam:
		global_position = cam.global_position + Vector3(0.0, height, 0.0)


func _make_process() -> ParticleProcessMaterial:
	var p := ParticleProcessMaterial.new()
	p.emission_shape = ParticleProcessMaterial.EMISSION_SHAPE_BOX
	p.emission_box_extents = Vector3(area * 0.5, 0.5, area * 0.5)
	var v := Vector3(0.0, -fall_speed, 0.0) + wind
	p.direction = v.normalized()
	p.spread = 0.0
	p.initial_velocity_min = v.length() * 0.9
	p.initial_velocity_max = v.length() * 1.1
	p.gravity = Vector3.ZERO  # steady speed, no speeding up on the way down
	return p


func _make_drop() -> QuadMesh:
	var mat := StandardMaterial3D.new()
	mat.shading_mode = BaseMaterial3D.SHADING_MODE_UNSHADED
	mat.transparency = BaseMaterial3D.TRANSPARENCY_ALPHA
	mat.billboard_mode = BaseMaterial3D.BILLBOARD_DISABLED  # transform_align does the facing
	mat.albedo_color = Color(0.75, 0.82, 1.0, 0.45)
	var q := QuadMesh.new()
	q.size = Vector2(0.025, 0.7)
	q.material = mat
	return q
In our test the camera moved 60 units to the side. 1.2 seconds later there was about as much rain on screen as before. With the same emitter left where it started, the screen had no rain at all.
Keep Local Coords off
We moved the emitter 3 units to the side. With local_coords on, the drops on screen jumped about 57 pixels the same way within 0.05 seconds, because they move with the node. With it off, the drops already falling stayed where they were (1.5 pixels) and new ones started from the new spot. This emitter moves whenever the camera does, so with it on, all the rain would move with the camera.
No rain when you look straight ahead
visibility_aabb is measured from the emitter, and the emitter sits 12 units above the camera. With the default box, 4 units each way, the whole box was above the view and nothing was drawn. The script makes the box reach from the top of the rain to below the camera.
Streaks that lean with the wind
Use a tall, thin quad, set transform_align on the GPUParticles3D to Z-Billboard, Y to Velocity, and set the Billboard Mode of the material to Disabled. In our test, with the wind at half the fall speed, one large drop leaned 26.6 degrees, the same angle as its path. With Particle Billboard on the material instead, the same drop stood straight up at 0 degrees while it moved sideways.
Rain from the first frame
preprocess runs the effect ahead of time. 0.1 seconds after the scene started, the lower half of the screen already had rain with preprocess set to the lifetime, and none with it at 0.
What to change
amount: heavier or lighter rain.wind: the lean, and how far drops drift.area: a wider box spreads the same drops over more ground, so raiseamountwith it.fall_speedandheight: the script sets the lifetime from these, so drops always fall past the camera.- The quad size and the alpha of the color: thicker or fainter streaks.
Tested in Godot 4.7 with the Compatibility renderer.
Ready-made: Weather & Storms VFX for Godot 4 runs rain, storms, wind and lightning from one node, and it follows the camera too.
Want ready-made effects? Try the free Arcane VFX pack or the VFX Collection for Godot 4.